Tutorial
Hosting Setup and Custom Domain Connection in Framer
Connect to Custom Hosting
Framer now supports a new set of dedicated IP addresses for custom domains, giving you improved stability, control, and long-term hosting reliability. In this guide, you'll learn what changed, why it matters, and what simple steps you need to take.

Why Framer Updated Hosting IPs
At Orbitx and across the Framer platform, we aim to provide the most secure and reliable hosting possible. With this update:
Framer now owns its IPs directly
The new IPs are “clean,” without previous associations that may raise security flags
Emergency responses and performance management are faster and more controlled
We recommend all users update their DNS records to adopt this enhanced setup. It’s a one-time step that ensures your site runs smoothly and remains future-proof.
How to Update Your DNS Records
To begin using the improved hosting, you’ll need to update your DNS settings in the registrar or web hosting service where your domain is managed.
Supported Domain Registrars
Here are helpful guides for commonly used platforms:
Cloudflare: Adding A records and a CNAME
Namecheap: Adding A records and a CNAME
GoDaddy: Adding A records and a CNAME
Squarespace: Adding A records and a CNAME
Ionos 1&1: Adding A records and a CNAME
Gandi: Adding A records and a CNAME
Step-by-Step Instructions
Add the new A records to your DNS panel:
31.43.160.6
31.43.161.6
Do not delete the old IPs yet — keep both active temporarily
Verify global propagation via DNS Checker. Look for green checkmarks worldwide
If records are inconsistent, wait up to 24 hours
Once everything looks good, remove the old A records:
52.223.52.2
35.71.142.77
Now your DNS will only return Framer’s new dedicated IPs. The transition process is smooth, and your website will remain live the entire time.
How to Connect a Custom Domain
With Framer, you can instantly publish your site to a Framer subdomain or a third-party custom domain.
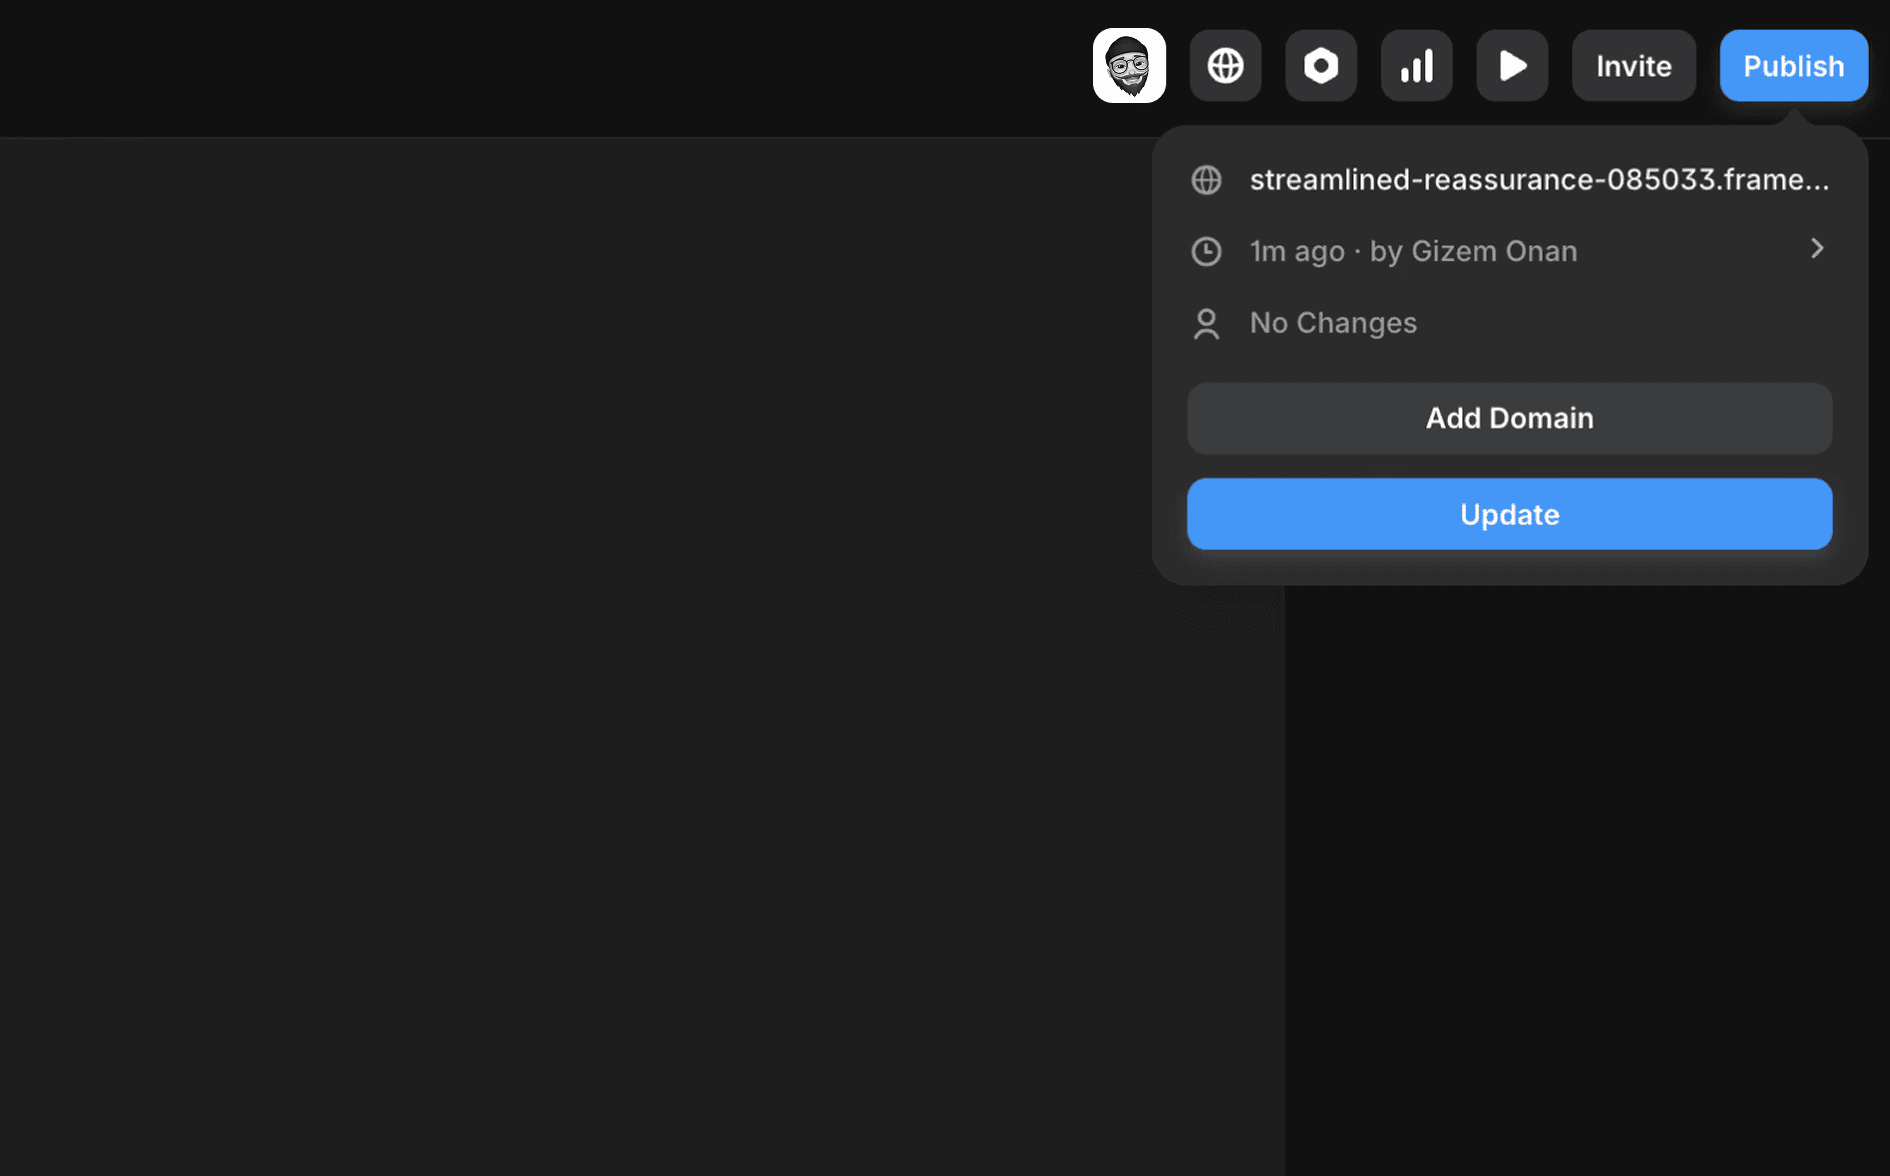
Publish Your Project
To make your website accessible online, publish your project. Click the “Publish” button in the top-right corner to start hosting your website. After publishing, you can access the URL through the Publish sheet. Use the “Update” button to publish any changes made to your project.
Add a Free Custom Domain
By default, your website is hosted on a Framer subdomain, which cannot be customized. However, you can add a custom domain using one of the following options:
Add a free Framer subdomain
Connect a third-party domain you own
The first option is free, and Framer automatically configures the DNS settings for you. Your new domain will go live within seconds. Simply enter a substring, choose one of the domain options (framer.website, framer.photos, framer.media, or framer.wiki), and submit.
Add a Third-Party Domain
To publish your Framer website to a custom domain purchased from a web hosting service, follow these steps:
Purchase a domain from a provider such as Cloudflare or GoDaddy.
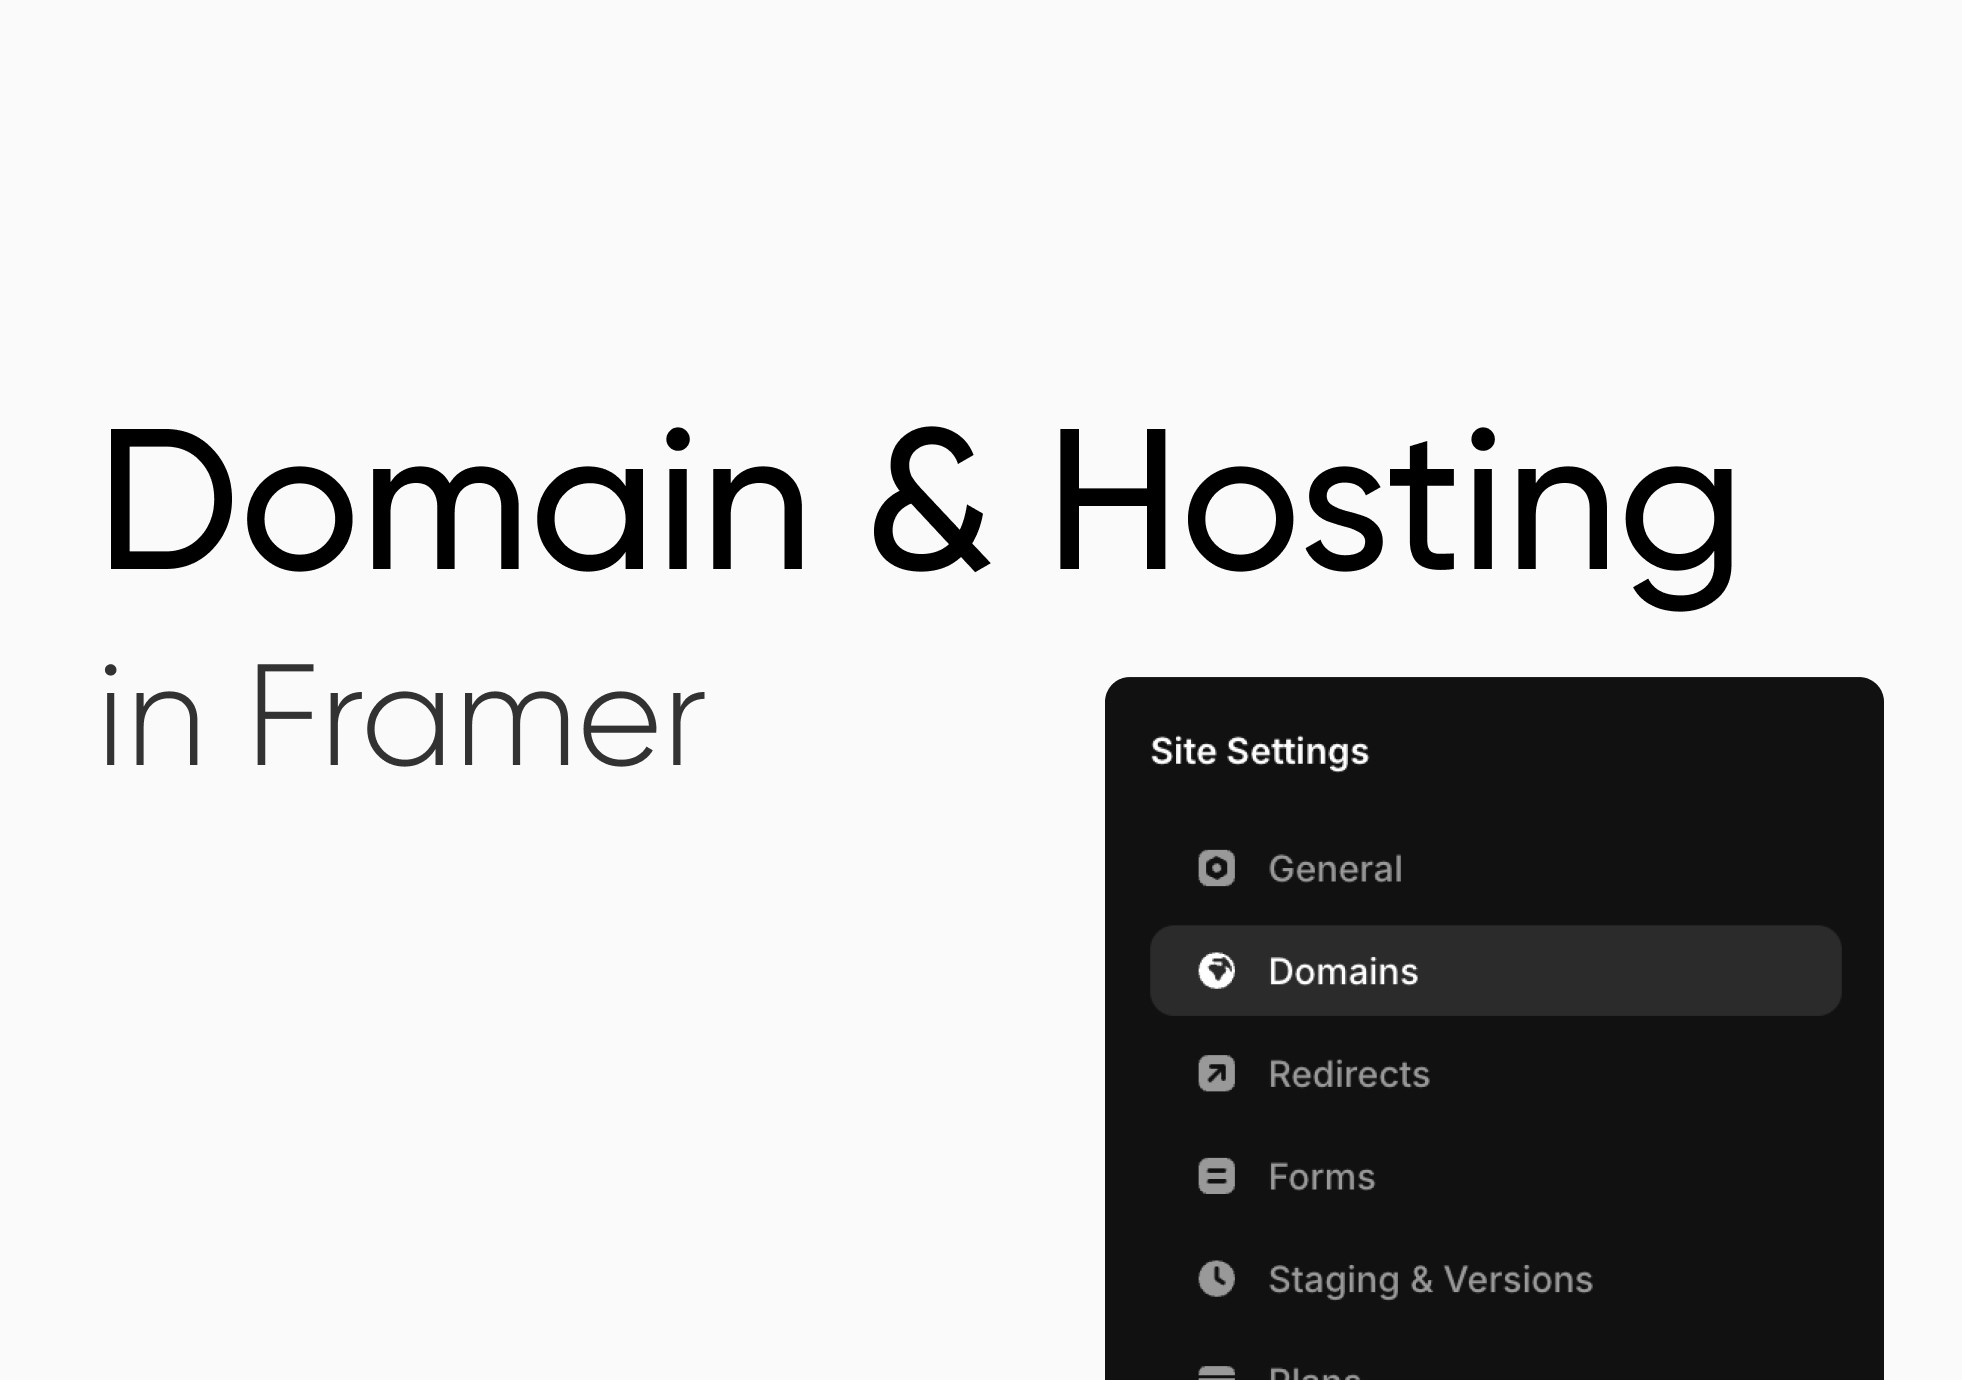
Go to the ”Domains” page in your Site Settings and select “Connect a domain you own”.
Enter your domain and update the DNS records provided by Framer in your domain provider’s DNS settings.
Most domain registrars have custom DNS management panels. You can usually find this under Domain Settings and go to DNS Records. Below are guides for common domain registrars:
NameCheap: Adding A Records and a CNAME
GoDaddy: Adding A Records and a CNAME
Google Domains: Adding A Records and a CNAME
Ionos 1&1: Adding A Records and a CNAME
Gandi: Adding A Records and a CNAME
Cloudflare: Adding A Records and a CNAME
Configure a Domain
To set up a “naked” or “apex” domain (e.g., example.com), configure two A records and one CNAME in your DNS settings with the following values:
A records: Use static IPv4 addresses provided by Framer
CNAME records: Use for redirecting to the “www” version of your domain
The required records for your Framer website, that you can also find in the “Domains” tab in your project settings, are as follow.

Ensure there are no other A or AAAA records configured for the domain, as they may interfere with Framer’s settings.
Configure a Subdomain
To set up a subdomain (e.g., subdomain.example.com), create a CNAME record in your DNS settings. Some DNS providers may require a trailing dot (e.g., sites.framer.app.). Enter either the full subdomain or just the subdomain part, depending on your provider.

Confirm Changes
DNS changes may take up to 48 hours to propagate worldwide, though the process is typically faster. Once the domain is connected, your website will be accessible via the new domain.
FAQ
Why is this update important?
Framer is migrating to a new infrastructure that depends on these updated IP addresses. This allows for better performance, reliability, and control.
Will my site go offline if I don’t update?
No. Your website will stay online. However, we strongly recommend updating before the July 1, 2025, deadline to avoid future issues.
What happens after the deadline?
Your site won’t go down immediately, but Framer will begin sending reminders. Updating before the deadline ensures uninterrupted service.
Can I use both a subdomain and apex domain?
Yes, Framer supports both. Just make sure your DNS is configured correctly using the A and CNAME records provided.
How do I verify if the DNS records were added correctly?
Use a tool like DNS Checker to confirm your records have propagated successfully worldwide.
What if my DNS provider doesn’t allow CNAME for root domains?
In that case, only use A records for apex domains and configure redirection from www to non-www (or vice versa) using your registrar's tools.
Jun 26, 2025
More Articles

